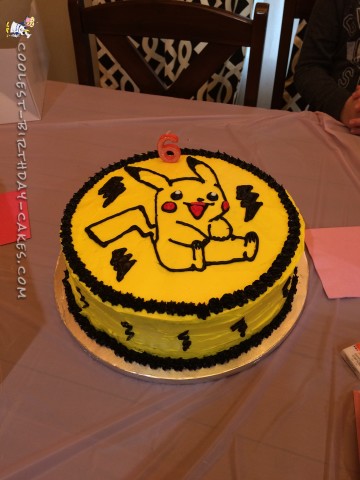
My niece asked for a Pokémon cake for her 6th birthday, so I sat down with her and looked at several pictures of cakes to get an idea for what she wanted on it. Two things stood out, Pikachu, and Pokeballs.
I decided to try making Pokeball cake pops, which didn’t turn out very pretty, but the kids loved them anyway! And for the main cake, I decided to try a transfer method that I’d used once before.
For the cake pops, I used a boxed chocolate cake, crumbled and mixed with canned chocolate frosting. It only took two large spoons full of frosting to get the right texture. I used an ice cream scooper to scoop the ‘dough,’ so that they would all be about the same size, and then rolled them into balls. I put these in the freezer for about 30 minutes so they would maintain their shape. I dipped each treat stick into melted Candy Melts before putting them into the cake balls, and then back to the freezer for another 30 minutes.
I first dipped the pops into white Candy Melts and set them aside to harden. This was where things started to go wrong with the cake pops. The Candy Melts work much better when you melt them over the stove. I learned how not to do them during this adventure, that’s for sure.
After the white candy coating hardened, I started working on the red top half. This is how I figured out that using two different candy coatings on cake pops isn’t exactly a good idea. They started falling off the sticks, and it was difficult to get the coating right. I made the little ‘buttons’ by piping on more white Candy Melt. I tried using an edible black marker, but it didn’t work. So I used black chocolate frosting, which doesn’t adhere well to hardened candy coating.
For the cake, I used two 12″ round boxed chocolate cakes. If I can cheat, and make things easier for myself, I will :-).
For the frosting, I used one can of chocolate frosting, tinted black, three cans of creamy vanilla frosting tinted yellow, and one can of white frosting divided. Part of the white was reserved for the eyes, the rest was tinted red. I honestly could have used four cans of vanilla, tinted yellow.
IMPORTANT: after frosting the cake yellow, I refrigerated it overnight so that the yellow frosting would stiffen up.
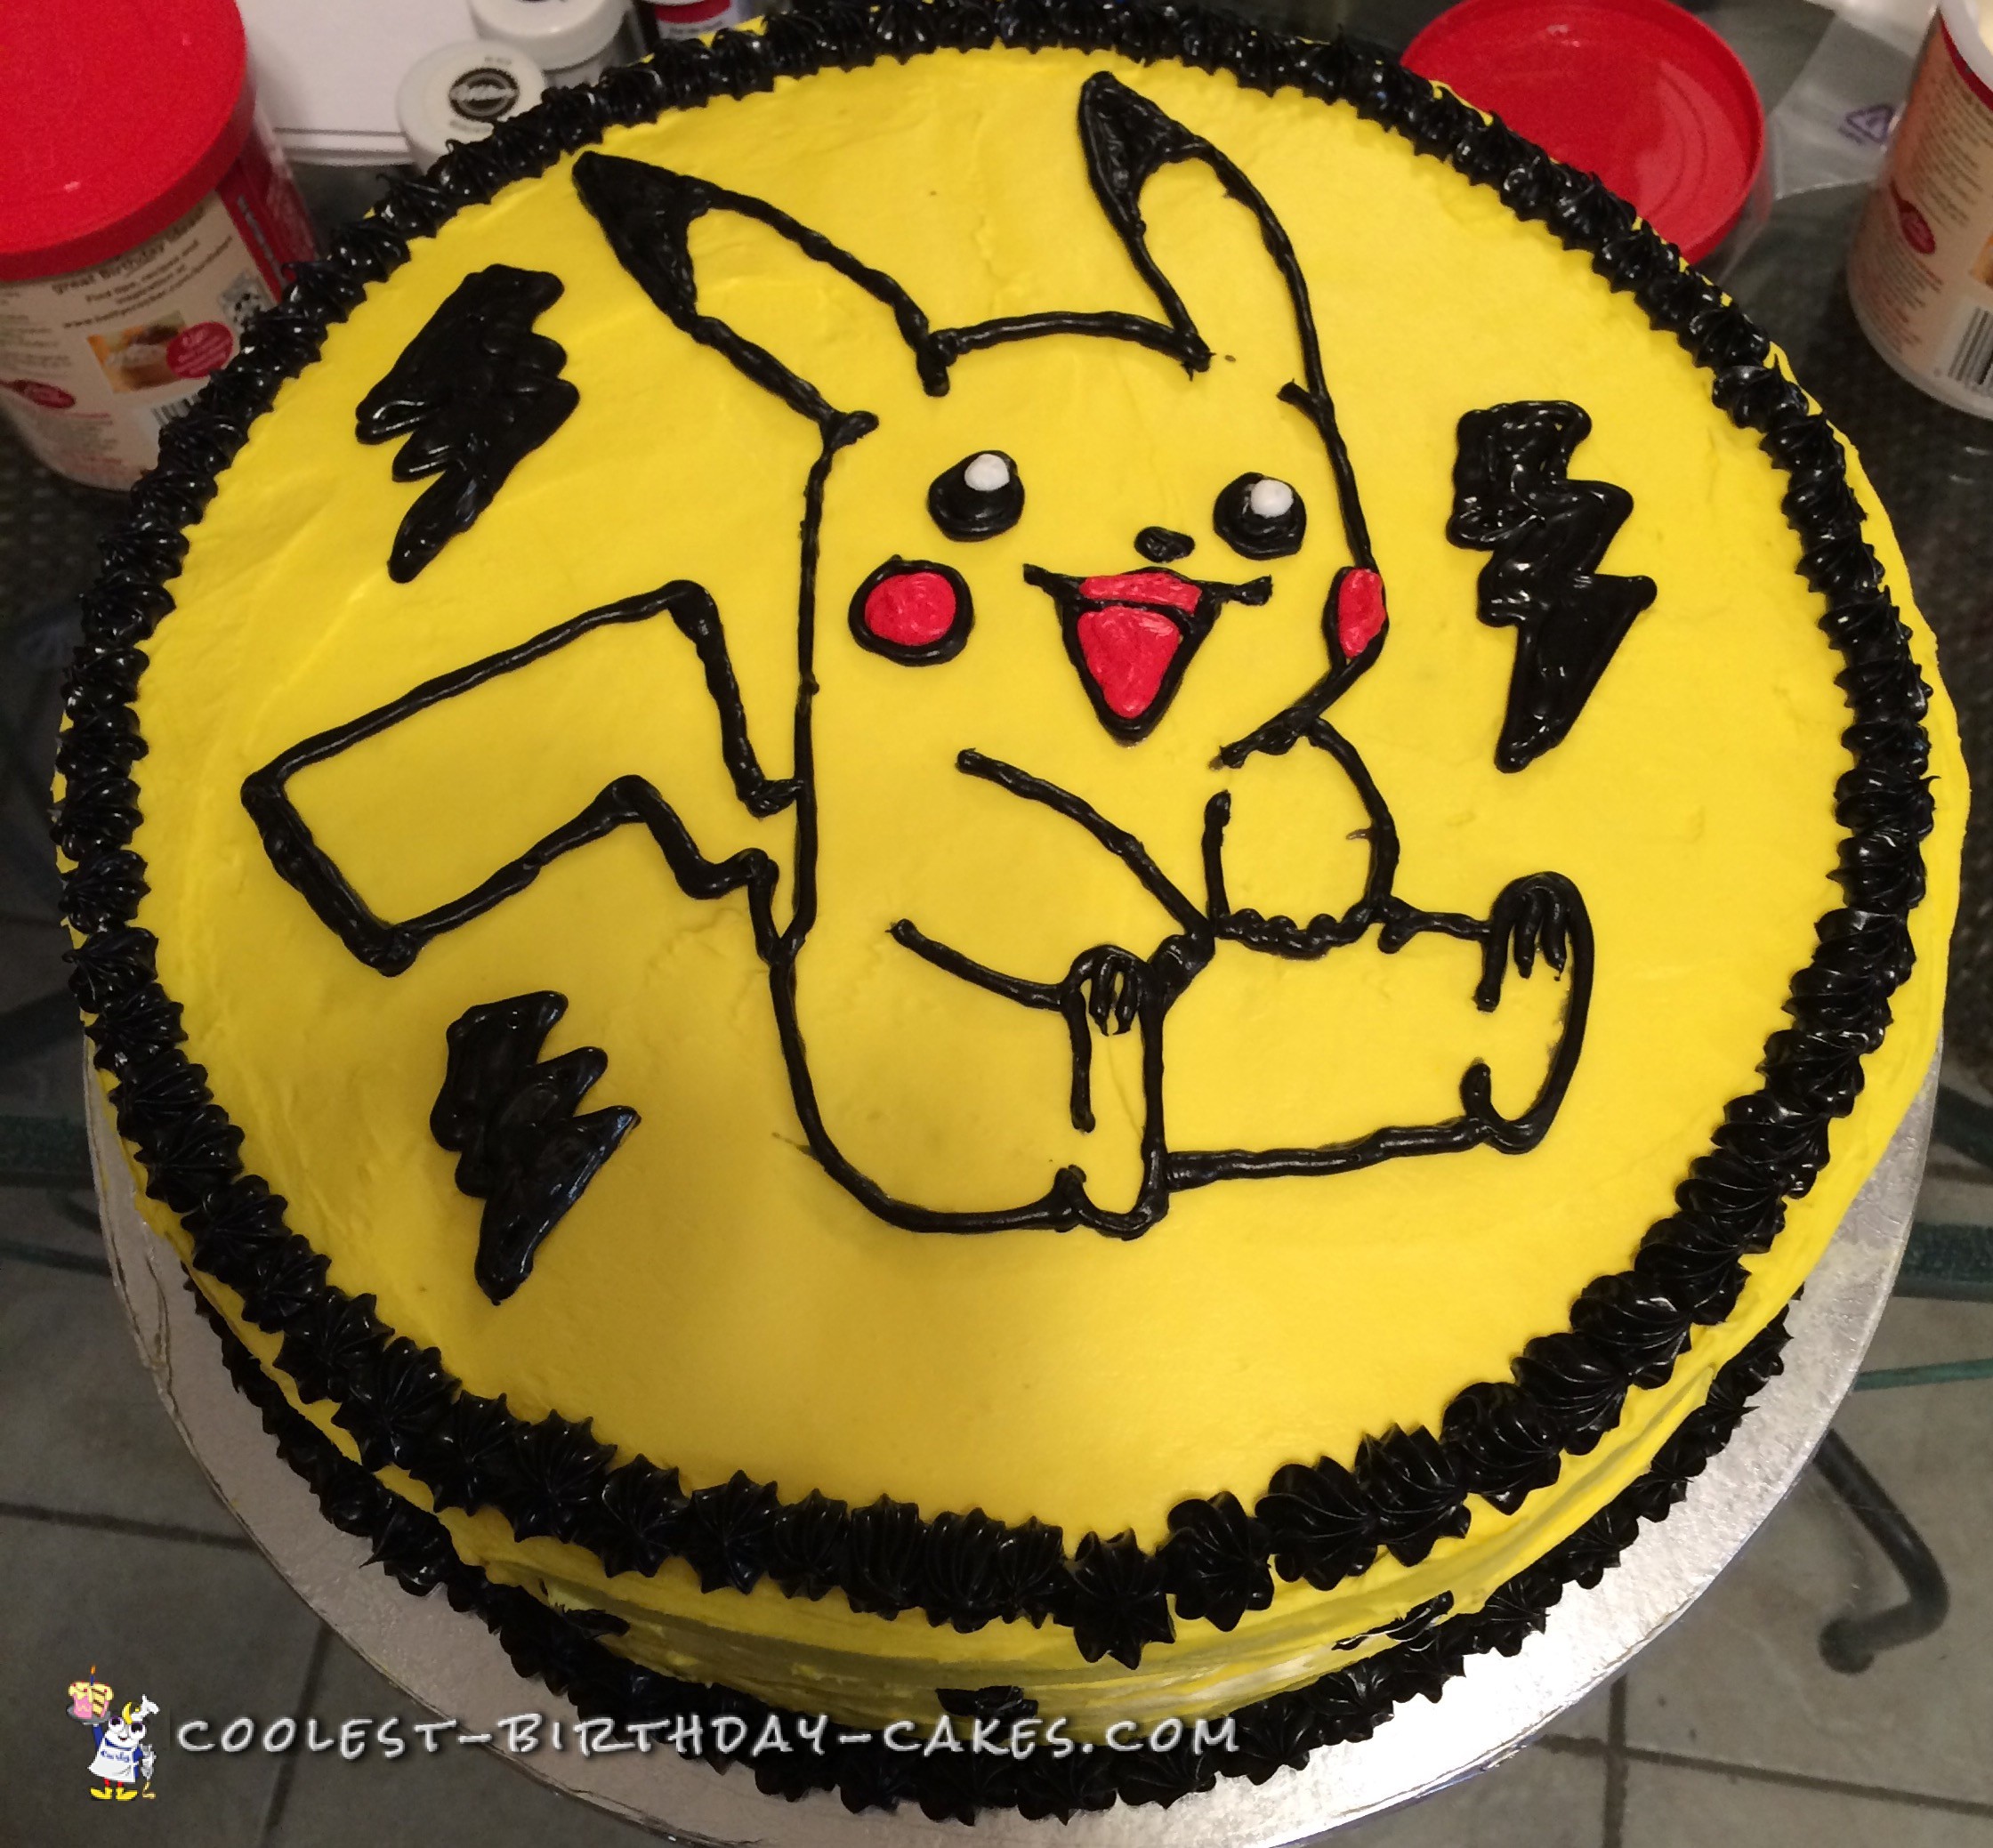
To make Pikachu, I enlarged a photo of him I got online and printed it. Then I put this printed photo into a plastic sheet protector. Then, I traced the outline using black decorating gel. After he was fully outlined, I removed the cake from the refrigerator and placed the printed photo, gel side down, VERY gently onto the top of the cake.
DO NOT PRESS DOWN ON IT!!! Very carefully, I removed the printed photo from the cake so that the outline didn’t smear.
I went back over the gel outline on the cake by piping over it with my black frosting, and then filling in his ears and eyes. Then I filled in his mouth and cheeks with red frosting. The cake still looked kind of bare, and I had lots of black frosting left. So, I switched to a star tip and piped my border. Then I switched back to my no. 5 tip, and added lightning bolts to the sides and around Pikachu to give the cake some extra character.
My niece loved her cake, and the cake pops, too (even though they weren’t pretty)!!!

Related cakes:
 Coolest Disney Princess Cake Pops
  Coolest Tulips in a Flower Pot Cake
  12+ Coolest Mickey Mouse Cake Ideas
  15+ Cool DIY Monkey Cake Designs for the Birthday Cake Enthusiast
  12+ Coolest Frozen Birthday Cake Ideas for the Ultimate Frozen Theme Party
 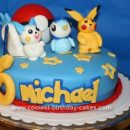 Coolest Pokemon Birthday Cake
  12+ Coolest Peppa Pig Cake Ideas
 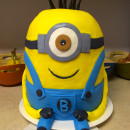 Coolest One Eyed Minion Cake