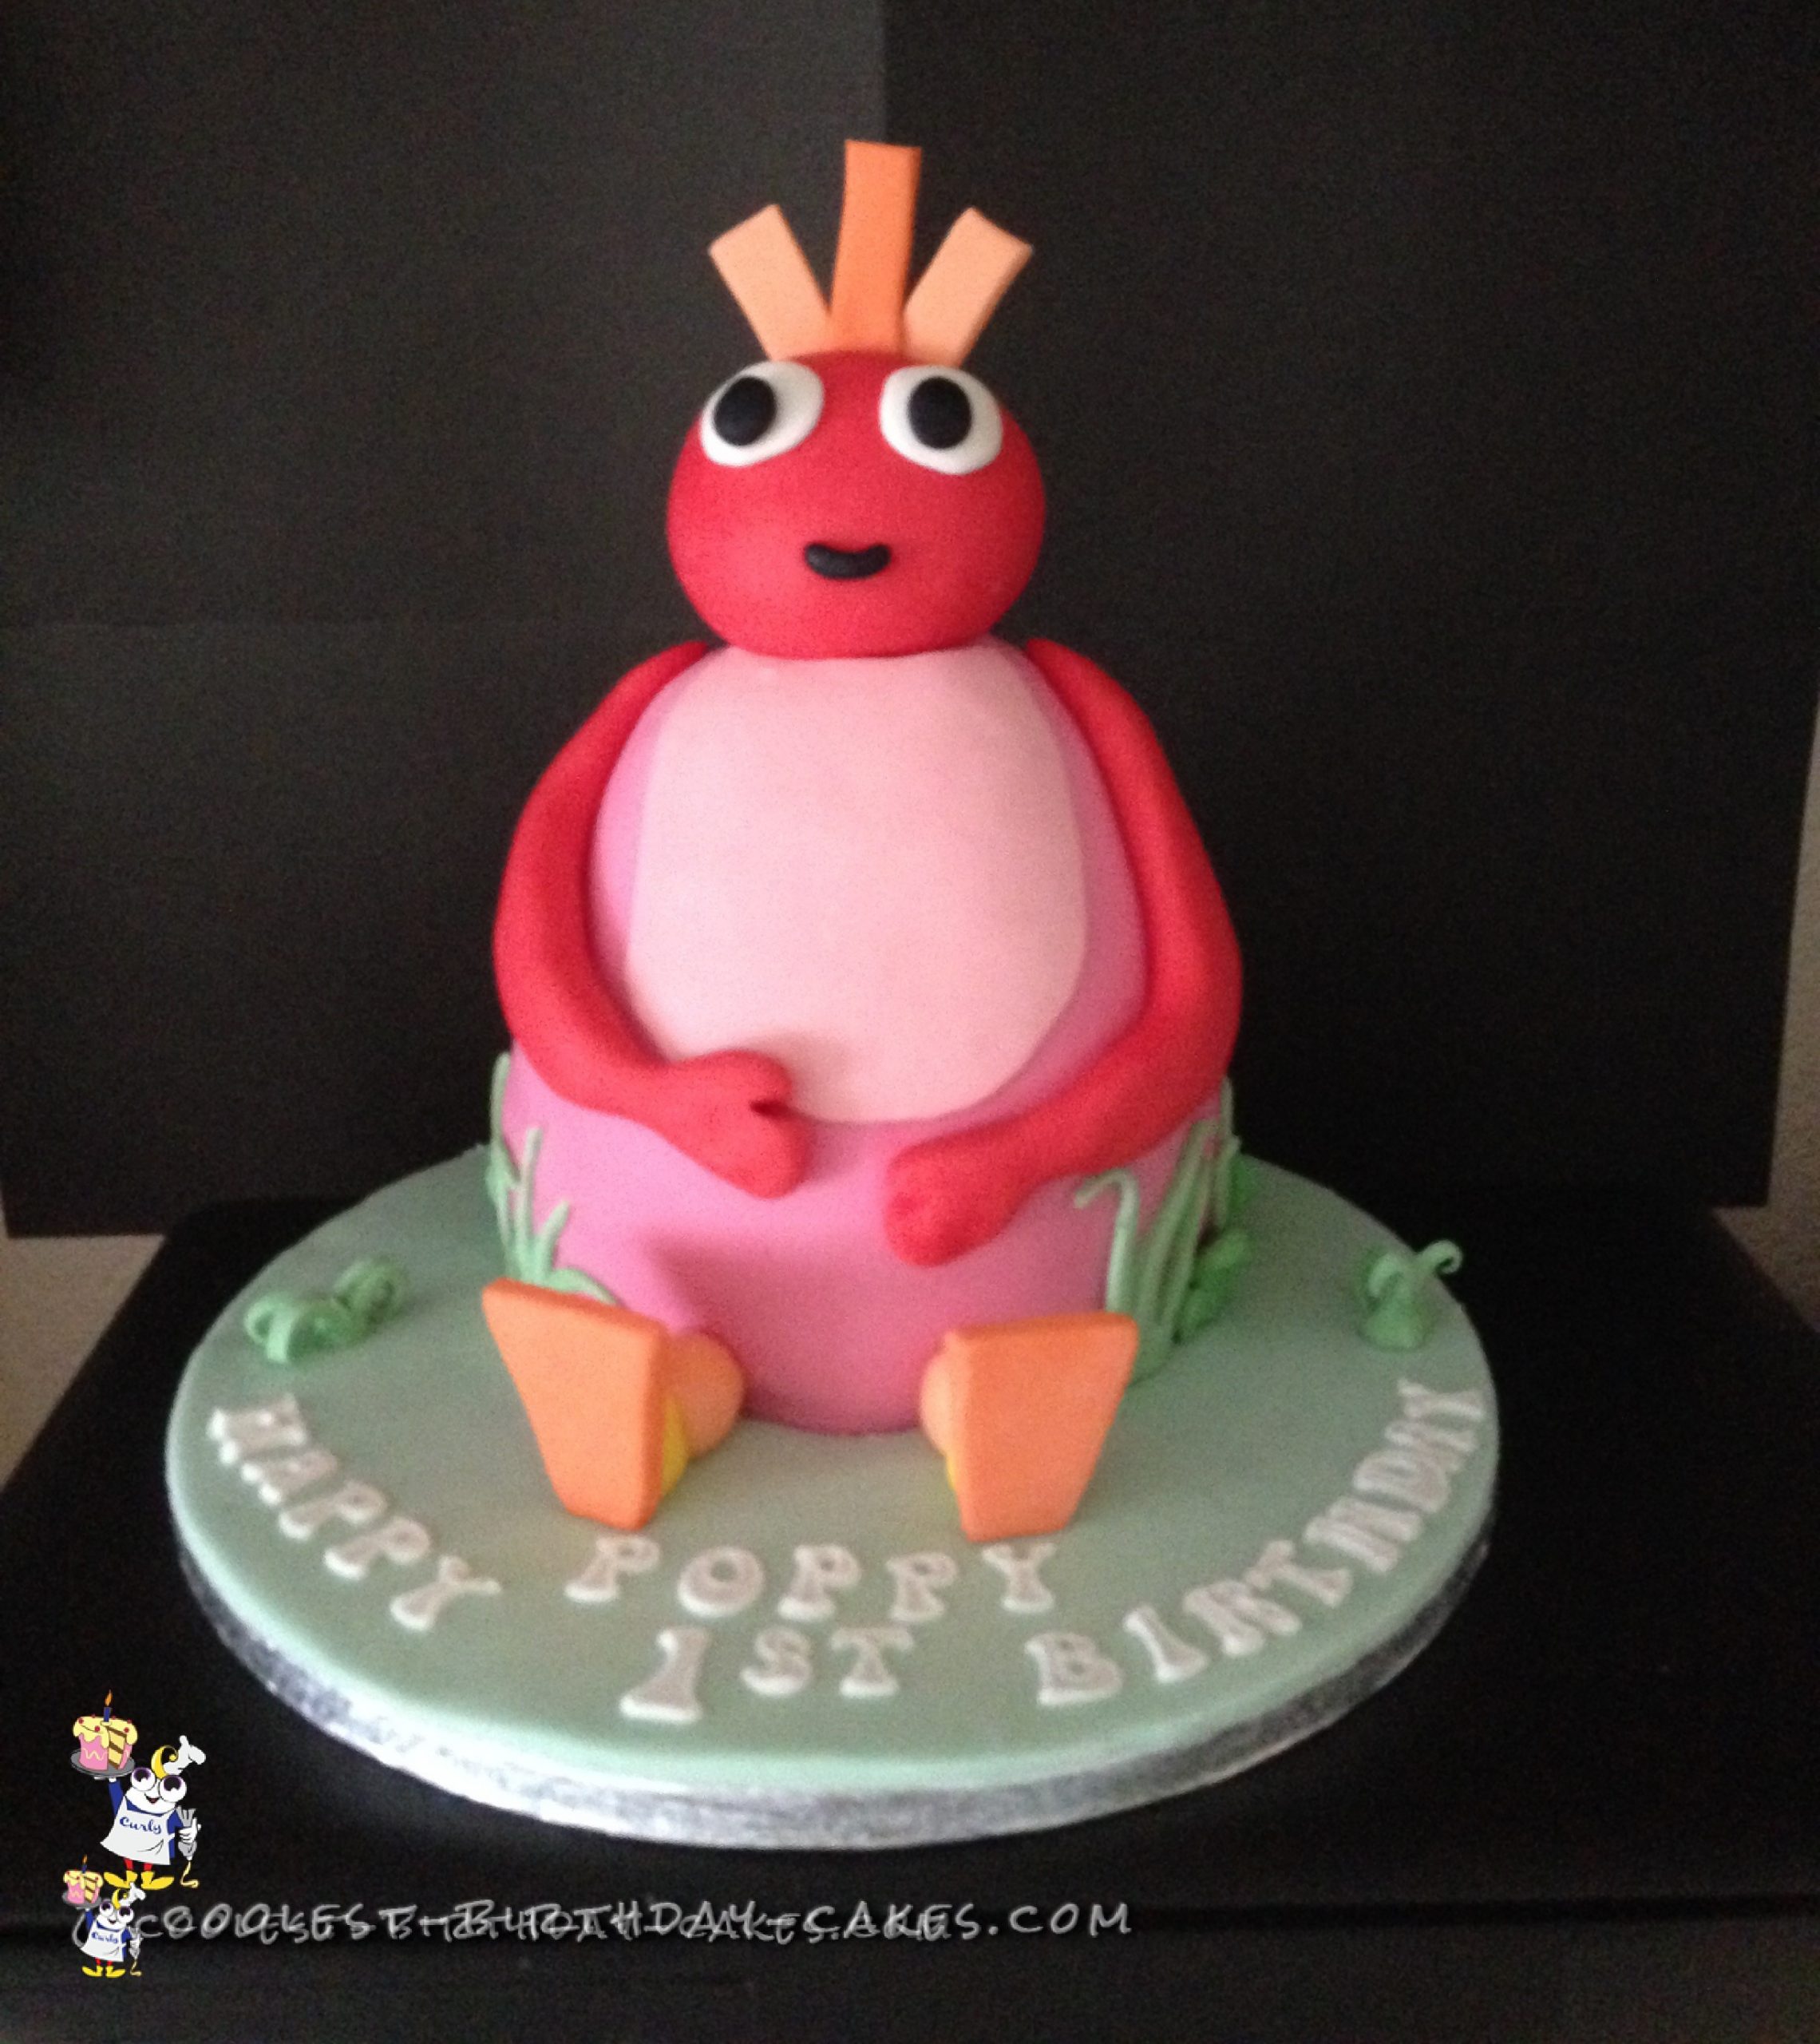
I was asked by my sister in law to make a Twirlywoos cake for her granddaughter’s first birthday. Well I’d never heard of them before, so I decided to Google it and I found them. She specifically wanted the pink Twirlywoo.
Twirlywoos Cake Directions
- I first set about making the cakes. She wanted a plain vanilla sponge with jam and buttercream filling.
- I made four 7″ round sponge cakes and one deep 4.5″ round sponge cake.
- When these were cold, I attached the layers first using buttercream and then jam and so on…
- Then I attached 3x wooden dowels through the cake before carving the cake into shape.
- I then covered it in buttercream and placed it in the freezer to chill.
- Meanwhile, I coloured the icing in pink, ready to cover the cake when it was chilled.
- Next, I covered the cake.
- Then, I coloured some icing in red enough for the arms and the head and added a little flower paste so it would harden.
- I shaped a head and attached it to the cake using a wooden dowel and then placed the rest of the red icing in a bag to use later.
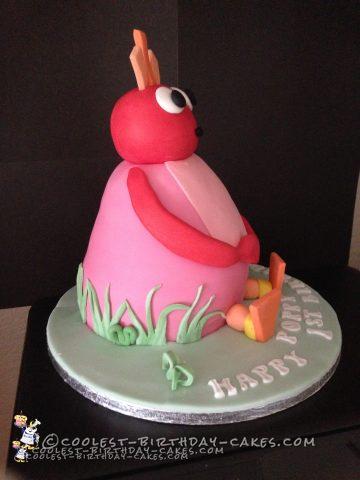
- I coloured some icing in green and covered the cake board around the Twirlywoo and then cut out some strips of green to resemble grass and attached them around the base of the cake.
- I cut out the wording and attached it to the cake.
- The cake was left overnight to harden and the next day I shaped the arms out of the red icing and attached them to the cake using a little water.
- I then cut out the white for the eyes and with a little black icing I cut out the pupils and attached them to the eyes.
- Then I shaped the mouth in black and attached it to the face.
The cake was now finished and my sister in law loved it
Related cakes:
 15+ Cool DIY Monkey Cake Designs for the Birthday Cake Enthusiast
  15+ Coolest Graduation Cakes – Awesome Graduation Cake Ideas!
  Coolest Zombie Birthday Cake
 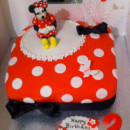 Cool Homemade Minnie Mouse 2nd Birthday Cake
 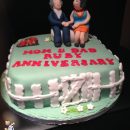 Coolest 40th Wedding Anniversary Cake
  5 Dinosaur Cake Ideas of Jurassic Proportions
 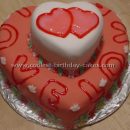 Romantic Homemade Valentine Cakes
 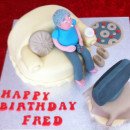 Coolest Sofa Cake