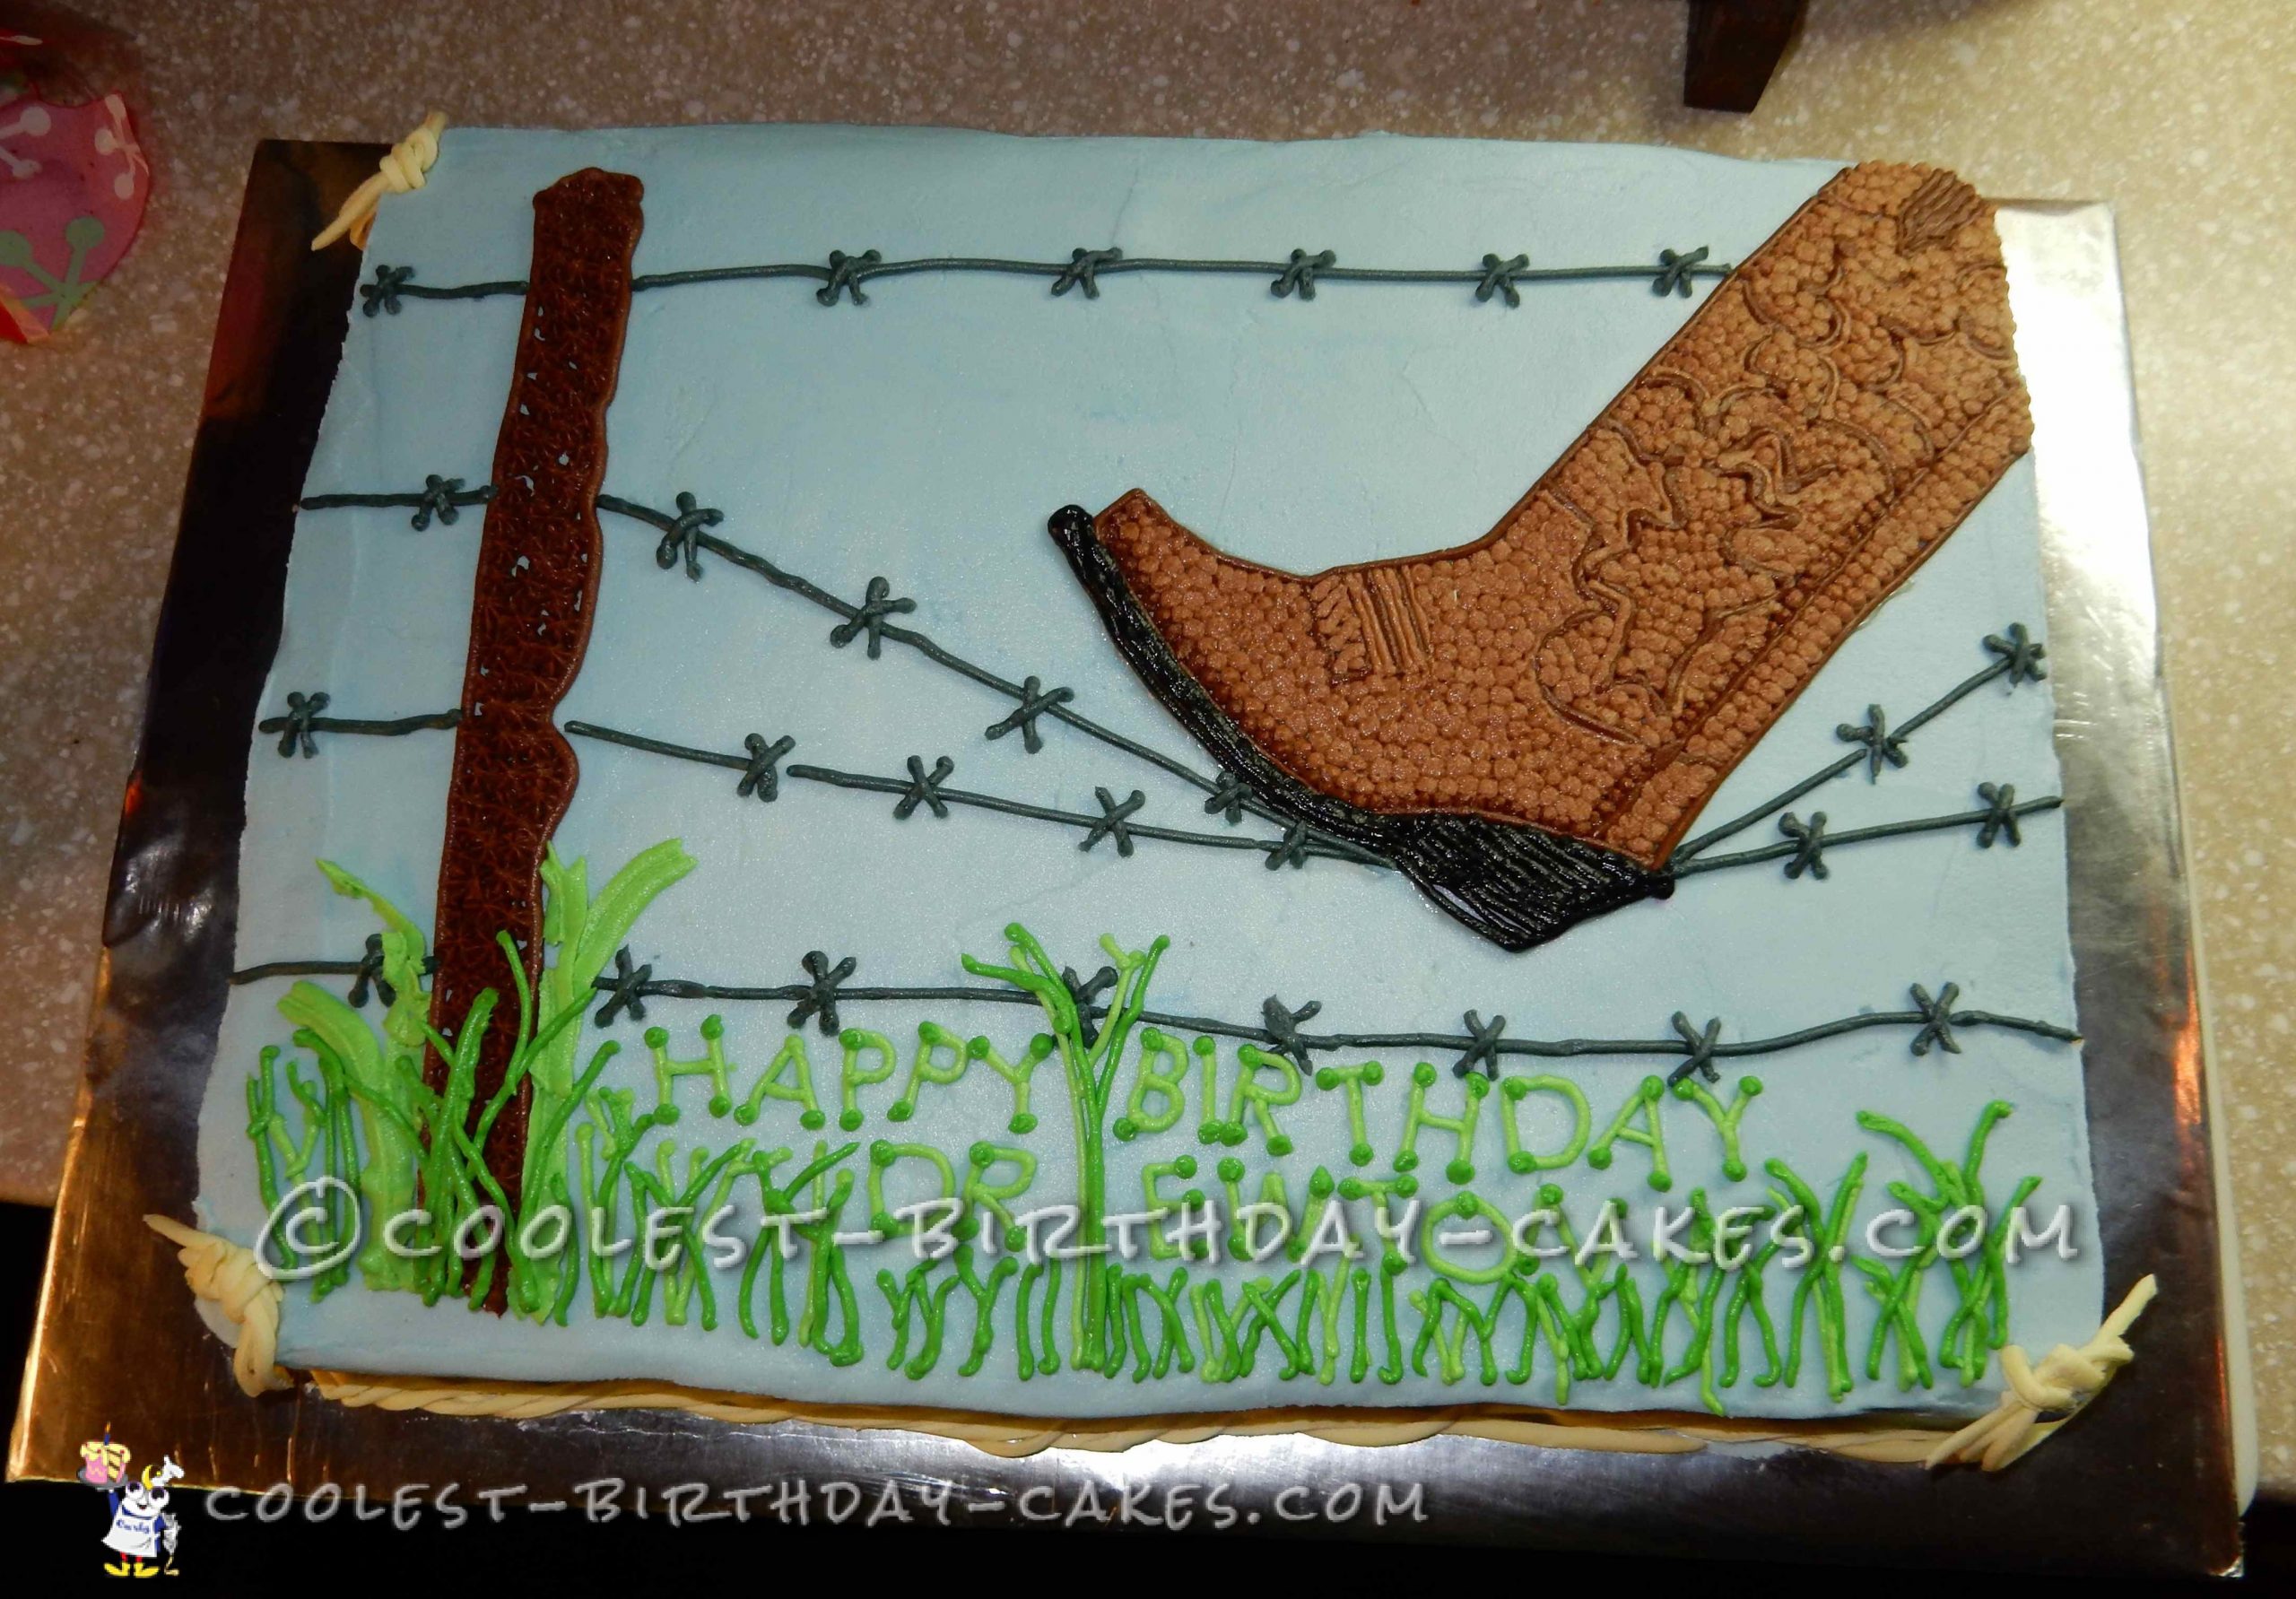
I made this cowboy boot cake for the 80th birthday of a dear friend of mine that enjoys working on his ranch in west Texas when he’s not at the office in Dallas. He was so pleased with his cake. I really enjoyed creating it and thinking of him out on the ranch, knowing that of all the celebrations he had around his 80th birthday, this would be completely unique and special.
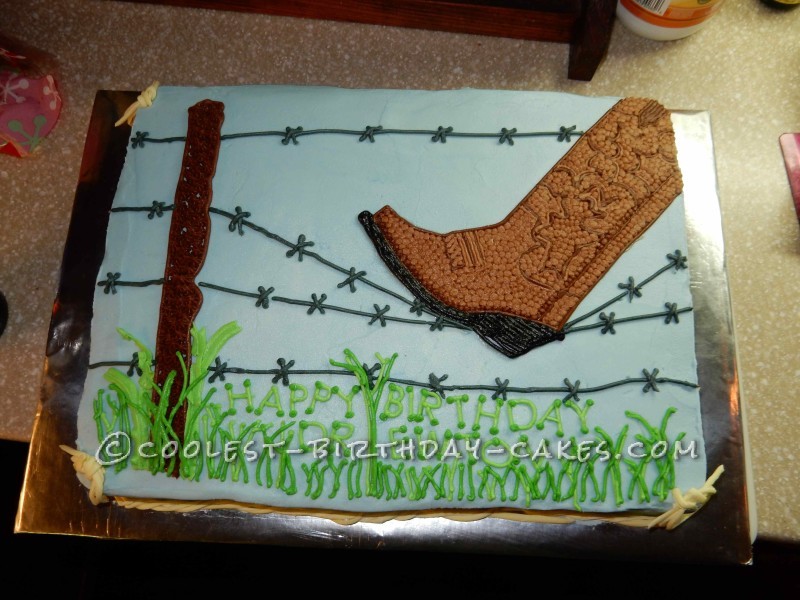
The complete cake
Bake and Ice the Base Cake
Bake and level a rectangular cake. I used 2 boxes of spice cake mix in a Wilton 10×14 pan. I knew I’d need a pretty good sized cake to allow for space for a boot pushing down the strands of wire on a fence AND the lettering for his birthday message.
Place on a cake board and ice with light blue buttercream icing. I make my own buttercream icing, using 1 brick of Crisco, 4 cups of powdered sugar, 1 tbsp merigue powder, 1/2 tsp each of vanilla, almond and butter flavoring, and water (about 4 tbsp). I like a medium consistency icing, which allows for easy spreading on the cake. I also like to dip an icing spatula in hot water and blot with a towel when icing. The hot spatula helps smooth the icing as you move it across the cake surface.
Wait 45 minutes for icing to set, and then smooth the icing with parchment paper or a paper towel. I like smoothing with a paper towel. The delicate dimples on a paper towel give the cake a unique texture. Parchment paper is harder to use, but gives an absolutely smooth surface.
This is a heavy cake, especially after it’s iced, so be sure your cake board is a sturdy one. The light blue color was meant to represent the blue sky of west Texas. I purposely did not mix the blue completely into the white, which allowed for subtle variations of color like you would see in the sky on a cloudless day.
Create the Boot
Using parchment paper and a pencil, trace a cowboy boot. I found one in an advertisement and just traced it over my computer screen.
Using piping gel in an icing bag, trace the outline the boot over the pencil tracing. I just snip the tip off of an icing bag to pipe the gel.
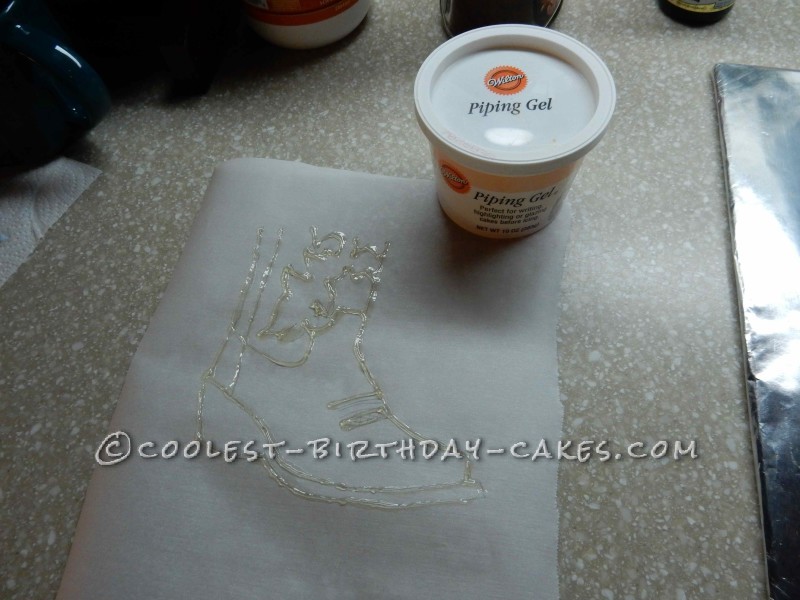
The piping gel outline on parchment paper
With the piping gel side down, place the parchment paper in the desired location on the cake, smoothing lightly with your warm hand to transfer the piping gel outline onto the smoothed surface of the cake. My original tracing didn’t extend the shaft of the boot very far, and I ended up extending it to the edge of the cake,
Go over the outline the boot with a #4 icing tip and the desired color of icing. Outline the seams of the boot and the stitching on the shaft of the boot with #3 icing tip. Using a contrasting color, add another outline to the stitching on the shaft.
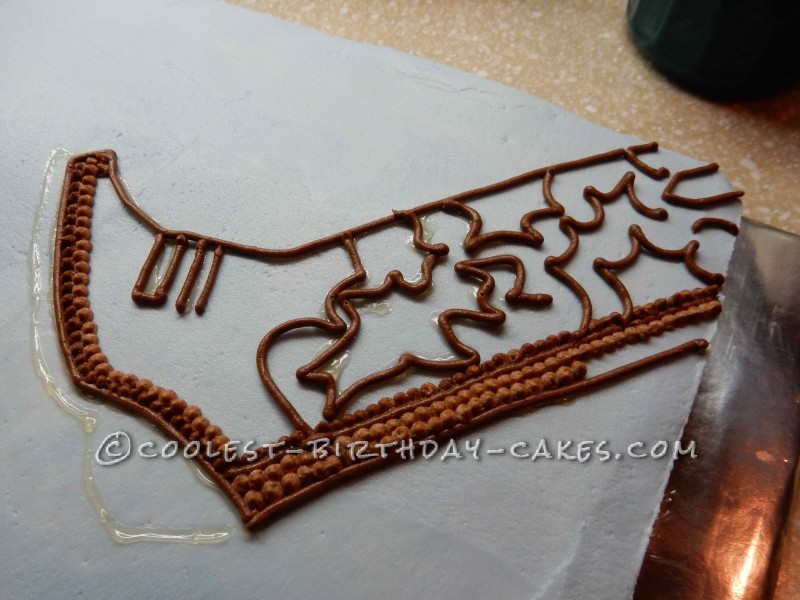
Outlining the boot
Fill the remainder of the boot with dots of the desired leather color using a #6 icing tip.
Using a smooth utensil like a bamboo spatula, press lightly on the dots to create the texture of the boot leather and fill any small gaps between dots.
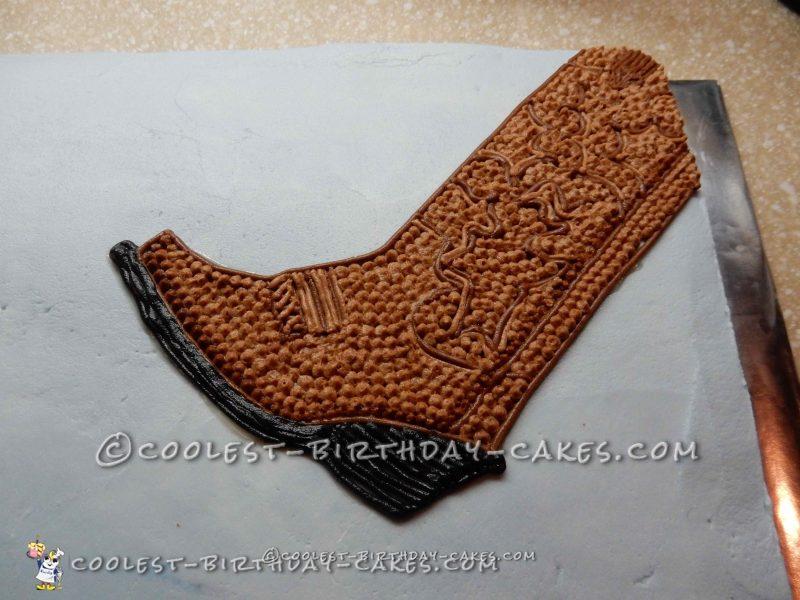
The complete boot
Using a #3 icing tip and black icing, trace the outline of the sole and heel of the boot using closely placed lines of icing, reproducing the appearance of layers that are typically seen in cowboy boots. Black icing is a mess! I end up getting it all over me whenever I use it. It’s not as ‘friendly’ as other colors if you make a mistake, so take your time.
Fence Post and Barbed Wire
Using a #4 icing tip and brown icing, trace a fence post on one side of the cake. The fence post gives some perspective to the boot and the barbed wire.
Fill the fence post with #18 star icing tip, keeping the tip close to the cake so that the stars are flat. This was supposed to be a natural wood fence post, kind of irregular and bumpy, like mesquite.
Mark off where you want the first and fouth strands of barbed wire to come off the fence post with a toothpick across the entire cake, so that it’s straight.
Mark off where you want the two middle strands of barbed wire to come off the fence post, but you will angle the strands on the right side of the post from their origin on the post to the spot between the sole and heel of the boot, as if the boot is pushing down the two strands of wire. (I used a ruler to lightly mark the angle.) Then mark off the angle back up from the heel toward where the level of the strand would naturally return.
Using a #3 icing tip and gray icing, follow your marks for the strands of barbed wire on both sides of the fence post.
Using a #3 icing tip, make small x’s along the barbed wire strand to represent the barbs on the wire, alternating the spacing on each strand.
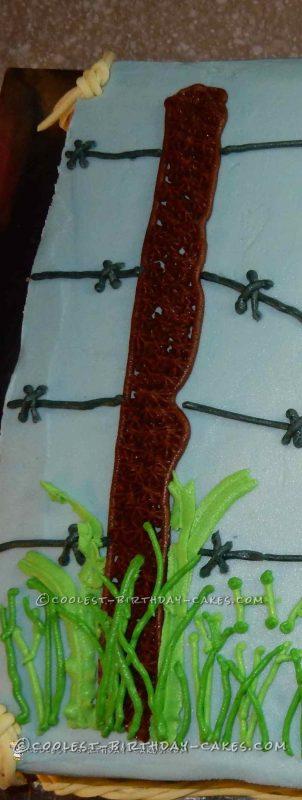
The fence post and barbed wire
The Happy Birthday Message and Grass
Using letter forms, place your ‘Happy Birthday’ message along the bottom of the cake and pipe along the marks with a #3 icing tip.
I used the same color of icing as some of the grass, to make it look like the words were part of the grass, but I could have used a contrasting color to make the letters more visible.
To make the letters stand out, I piped a small dot of darker icing on the tips of the letters.
Using a variety of icing tips (#46, #67, #3) and a two different colors of green icing, pipe some weeds and grass along the bottom of the cake. Concentrate some tall wide-leafed weeds around the base of the fence post with tip #46.
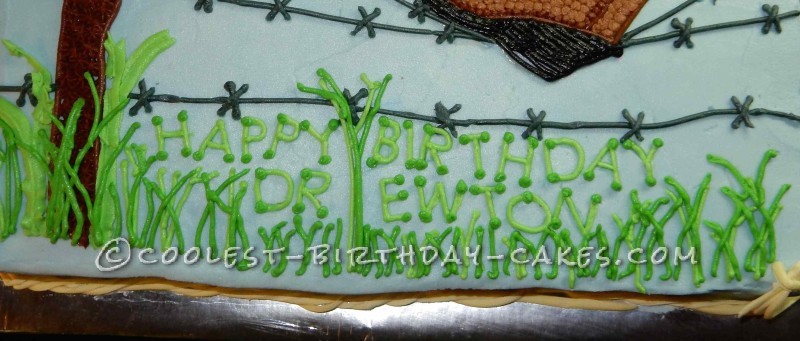
Grass and lettering
The Lassos and Rope Border – Finishing Touches
Using fondant or gum paste, color it yellow and roll it out and cut fine strips to make rope. I used a ruler and a rotary cutter to cut the fine strips after rolling the gum paste very thin. It dries quickly, so cut a few strands and make and place your rope on the cake, then repeat the process until you’ve got enough rope to make the border of the cake.
Take three strands of the yellow ‘rope’ and twist them lightly and place along the bottom of the cake to form a border.
This doesn’t have to be perfect. Just lightly twist them and press them into the bottom edge of the cake. Don’t worry about a continuous strand. Just lay the next piece of rope adjacent to the last one, and it still looks great.
Take a few small strands of the fondant or gum paste and coil them into lassos to press into the corners of the cake.

The lasso and rope border
You’ve done it!

The completed cake
Related cakes:
 15+ Cool DIY Monkey Cake Designs for the Birthday Cake Enthusiast
 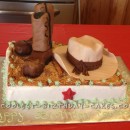 Coolest Cowboy Boots and Hat Cake for Cowboy Birthday
 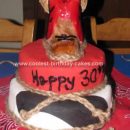 Cool Homemade Cowboy Boot Birthday Cake
 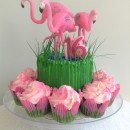 Fabulous Flock of Flamingos Cake
 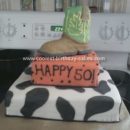 Coolest Cowboy Boot Birthday Cake
 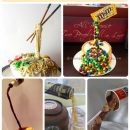 5 Coolest Homemade Anti-Gravity Cakes
  Coolest Ever Avengers Birthday Cake
  22 Fire Engine Birthday Cake Designs